TechBii
  • Mobile
    • Android
    • iOS
  • Computing
    • macOS
    • PC Tips
  • Software & Apps
  • Content Writing
    • WordPress
    • SEO
    • Digital Marketing
      • Social Media
  • Tech Stuff
  • Coding & Dev
    • UI & Design
  • Business
  • How To
Categories
Android (86) Business (327) Coding & Dev (311) Computing (15) Content Writing (103) Digital Marketing (327) Finance (125) Gaming (119) Hosting (21) How To (463) iOS (40) macOS (28) Mobile (12) PC Tips (124) Productivity (119) ROMs (18) Rooting (22) Security (147) SEO (212) Social Media (154) Software & Apps (368) Sports (20) Tech Stuff (1125) UI & Design (94) WordPress (82)
Reading: Root Google Pixel & Pixel XL with SuperSU – Systemless Root
Share
TechBiiTechBii
Aa
Search
Follow US
Copyright © 2014-2023 Ruby Theme Ltd. All Rights Reserved.
Rooting

Root Google Pixel & Pixel XL with SuperSU – Systemless Root

Last updated: 01/09/23
Sidharth By Sidharth 3 Min Read

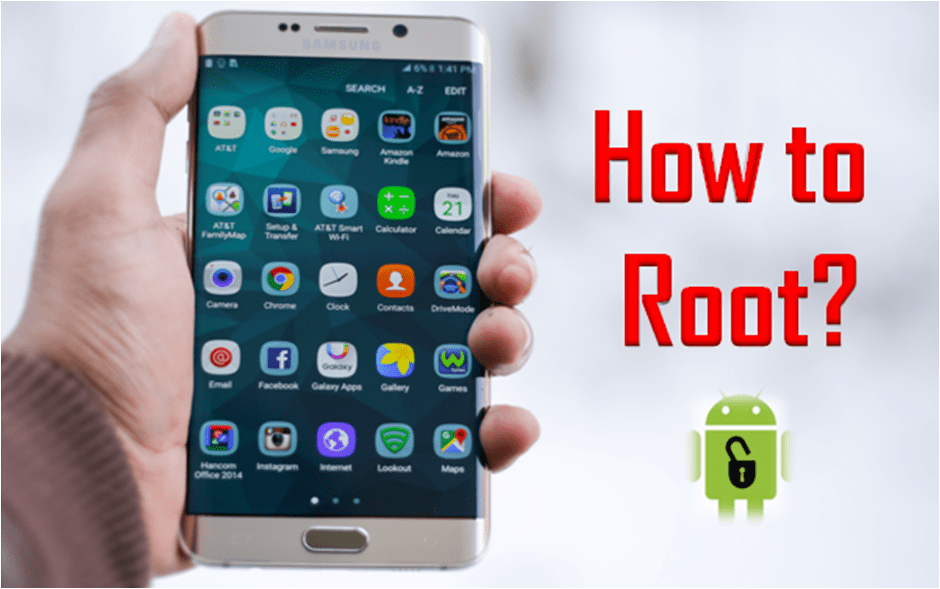
The flagship devices by Google, Pixel, and Pixel XL have managed to get systemless root by flashing SuperSU  2.78 SR2. If you own a Pixel or Pixel XL and want to root it without much fuss, you may follow this step-by-step guide. XDA geek Chainfire modified the SuperSU package to get SU access without making any modifications in the system partition. So this rooting guide helps you root Google Pixel & Pixel XL by fast booting the SU images.

Requirements

  • Unlock the Pixel bootloader by downloading ADB Fastboot drivers [Link] and Google USB drivers [Link].
  • Unlocking the bootloader may wipe all data in the phone storage. Back up your important data first.
  • Install Google USB drivers on your computer and extract the fastboot drivers to a folder on your PC.

How to Root Google Pixel & Pixel XL with SuperSu – Systemless Root

  1. After unlocking the bootloader of your Pixel phone, download the rooting package from the below links.
  2. Get rootkit for Pixel [Get] and for Pixel XL [Get].
  3. Extract the respective package to a folder and get the “boot-to-root” file from it.
  4. Connect your Pixel phone to your PC and enable USB debugging from Developer Options.
  5. Check whether your device is detected by a computer by executing the following command. (Open the command window inside the ADB folder by holding the shift key and right-clicking on an empty space).
  6. Execute “fastboot devices”
  7. If it returns a device info, then proceed to the next step. Else re-install phone drivers in the computer.
  8. Now execute the following command to acquire root privilege in your Google Pixel and Pixel XL.

fastboot boot boot-to-root.img

root google pixel

Note
For Google Pixel and XL version, the boot images are different and you may need to perform the fastbooting separately.

After performing the fastboot command, the device will reboot itself a couple of times. Don’t be panic. Once the device completes the reboot cycle, Google Pixel would have been rooted successfully. You may now detach the device from the computer.

After rooting Google Pixel and Pixel XL you can tweak your device by removing unnecessary apps, installing ad blockers, restoring backed-up files, and lots more. Let me know whether you feel any difficulties while rooting your Google Pixel phone with this method.

TAGGED: Google Pixel
Share This Article
Facebook Twitter Whatsapp Whatsapp LinkedIn Reddit Telegram Email Copy Link Print
By Sidharth
Follow:
Professional Blogger. Android dev. Audiophile.
Previous Article Best Free PowerPoint Backgrounds for Your Next Presentation Best Free PowerPoint Backgrounds for Your Next Presentation
Next Article yureka volte update patch Yu Yureka VoLTE Update: Custom ROM to Enable VoLTE in Yureka
2 Comments
  • Rohit Verma says:
    July 7, 2017 at 3:03 pm

    amazing phone rooting instructions.thanks

    Reply
    • Sidharth Pk says:
      August 7, 2017 at 9:03 am

      You’re welcome.

      Reply

Leave a Reply Cancel reply

Your email address will not be published. Required fields are marked *

You Might Also Like

Magisk-Vs-SuperSU
AndroidRooting

Magisk vs. SuperSU: What’s the Difference?

6 Min Read
How to Root Any Android Phone Without PC [Using KingRoot]
AndroidHow ToRooting

How to Root Any Android Phone Without PC [Using KingRoot]

5 Min Read
root moto e4 without pc
Rooting

How to Root Moto E4 without PC Using Magisk

3 Min Read
huawei p8 lite root unlock bootloader twrp
AndroidRooting

Huawei P8 Lite (2017): Unlock Bootloader, Install TWRP & Root

5 Min Read
TechBii

TechBii® is one of the leading technology websites aimed at providing consistent daily updates on the ever-changing tech niche. Established in 2012, the site has been continuously providing valuable resources on Android, iOS, SEO, WordPress, Digital Marketing, PC Tips, UI, and Web Design.

fixthephotofixthephoto

Get in Touch with Us

  • Contact Us
  • Submit Guest Post
  • Advertisement Opportunities
© 2012 — 2023 TechBii. All rights reserved.
adbanner
Admiration for Ad Blockers, But…
Hey, we get it. Ads aren't always fun. But they keep our content free and our servers running. Whitelist us? It's a win-win
Okay, I'll Whitelist
Welcome Back!

Sign in to your account

Lost your password?