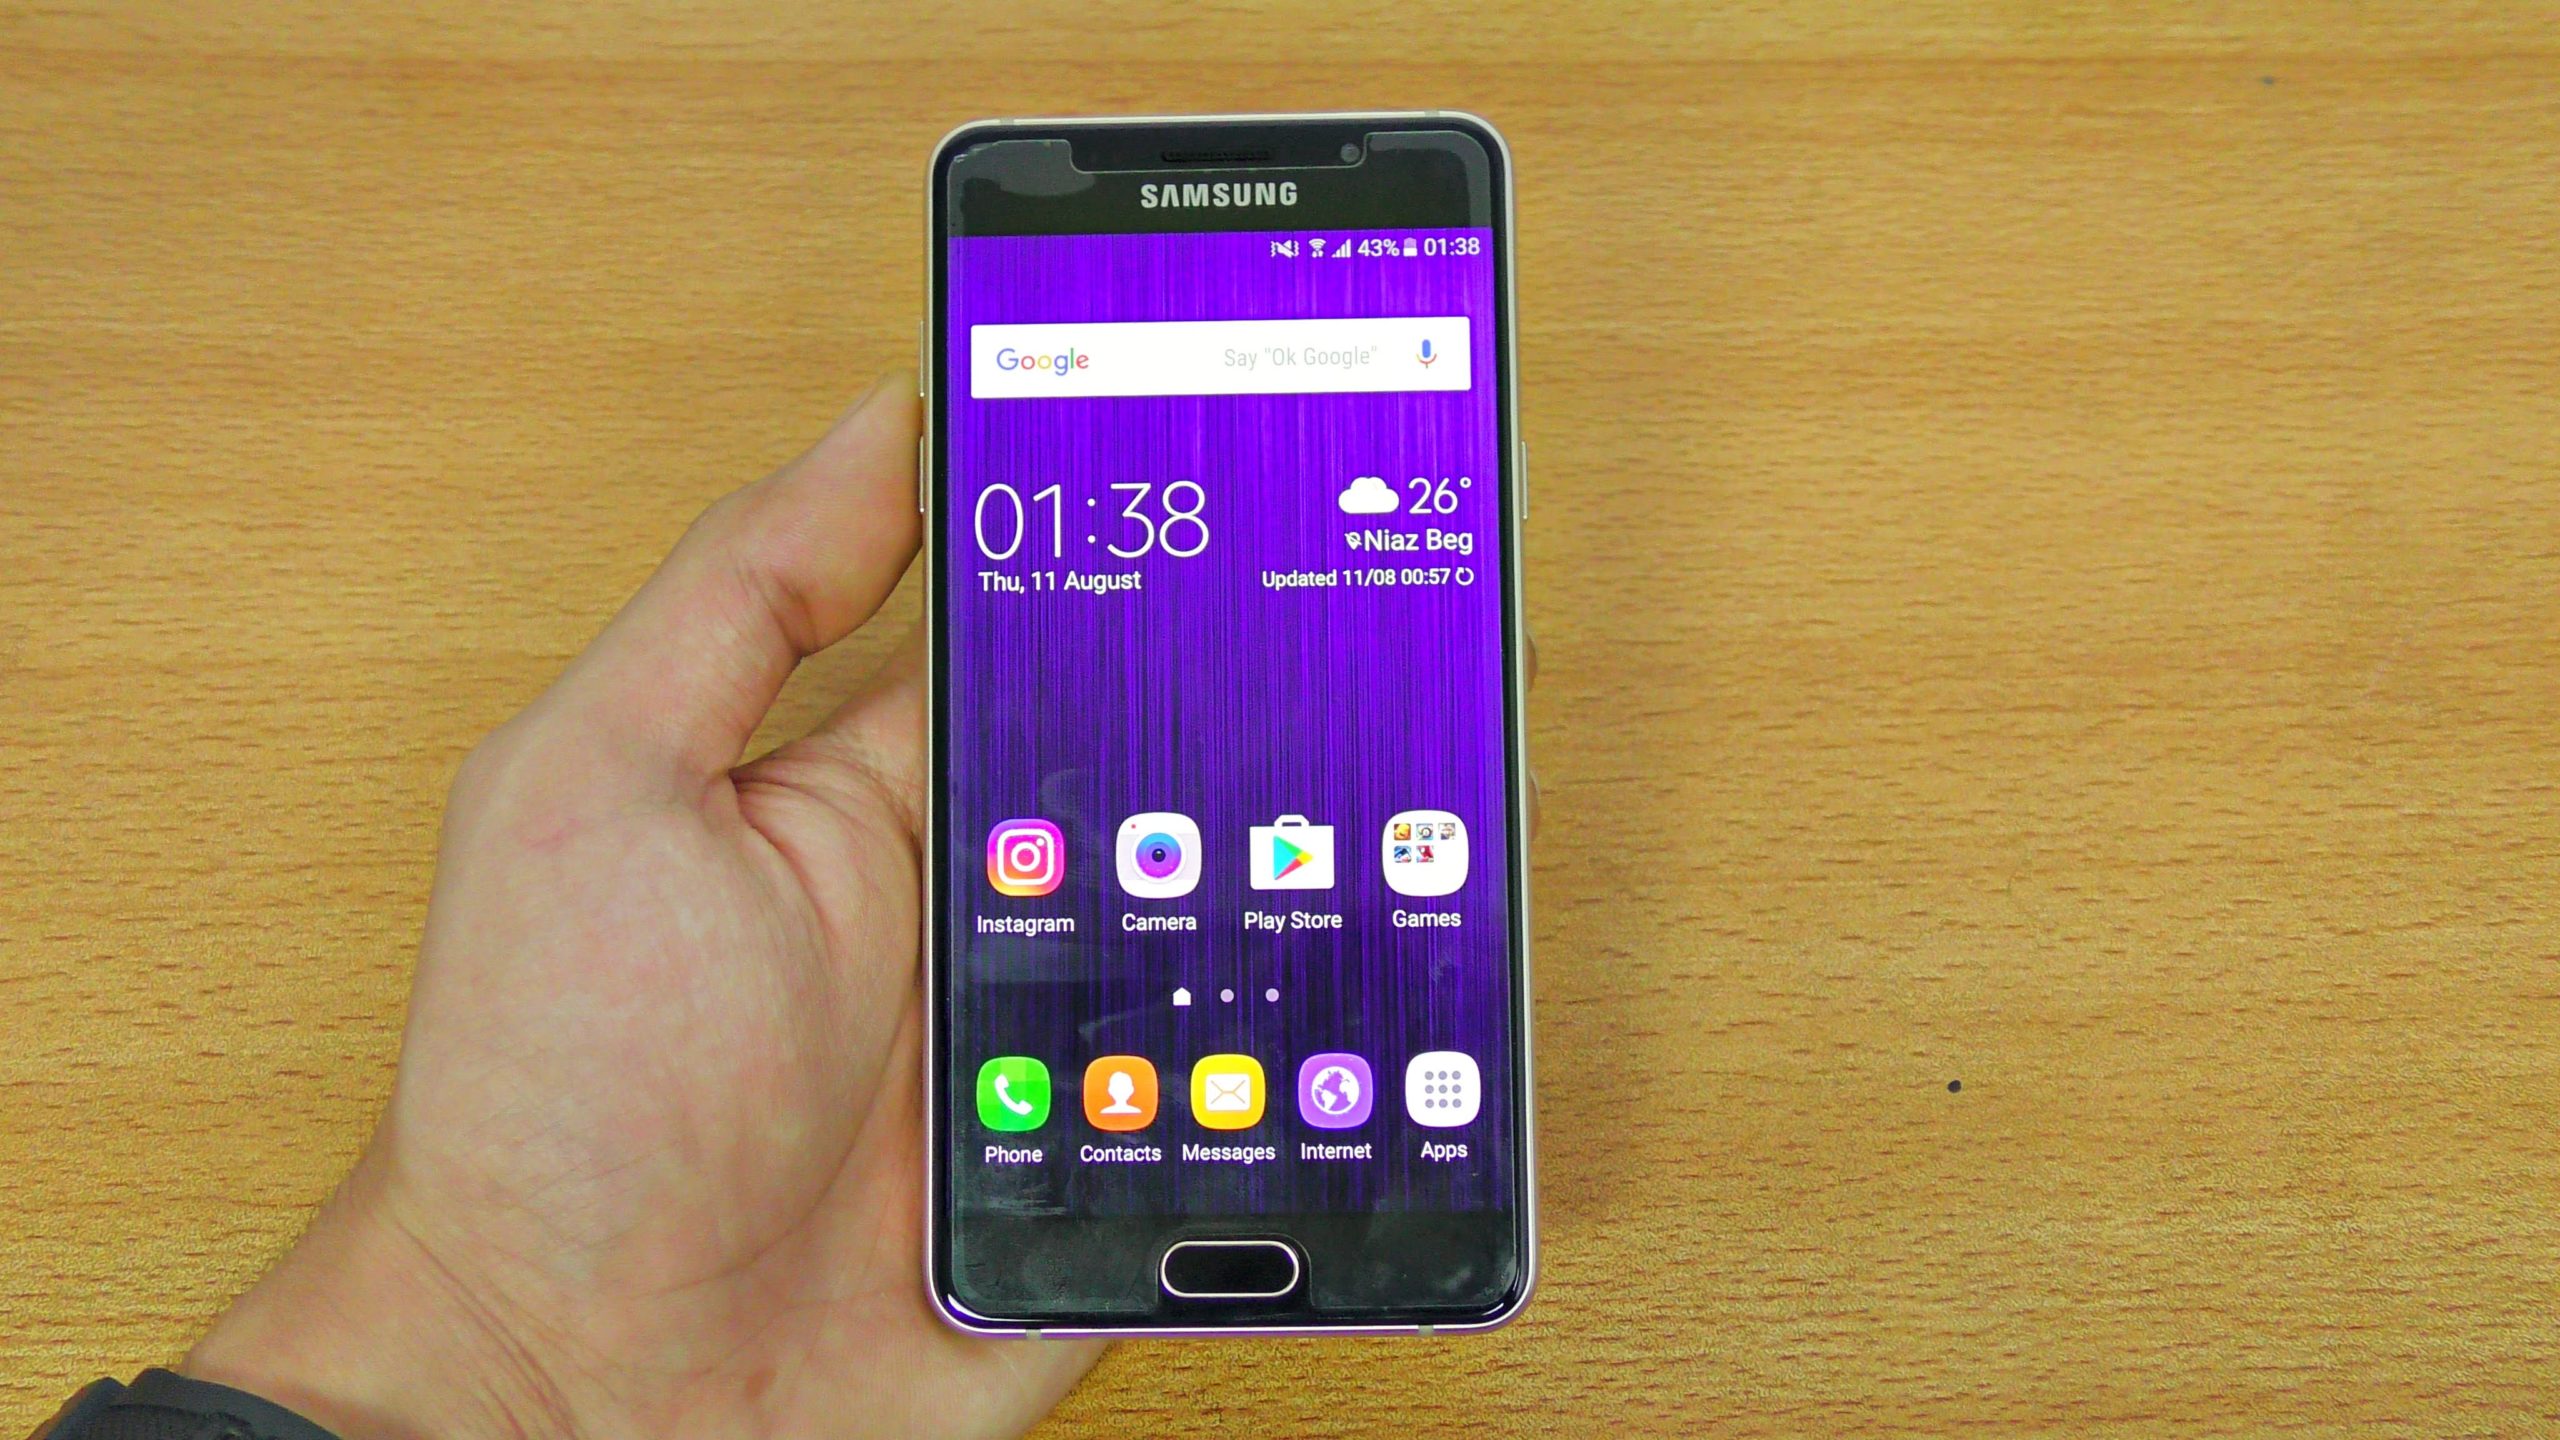
In this tutorial, I will guide you to installing TWRP custom recovery on your Samsung Galaxy On7 (2016) followed by rooting with the SuperSU package. We need a computer to perform the following tasks and if you’re searching for a method to root & install TWRP on your Galaxy On7 without a PC, you might need to wait a bit longer till we publish a separate article on that.
The TWRP recovery can be installed on Galaxy On7 in two ways; either with the conventional Odin tool or with the help of ADB commands. I’ll be sharing both methods so that you can follow the one that you are comfortable with. So before jumping into the installation and rooting procedures, let’s check the requirements.
Read: Female for English India (Waiting for WiFi): Remove from Notification Panel
Galaxy On7 TWRP & Root Guide: Disclaimer
The method(s) that I have shared is specifically meant for Samsung Galaxy On7 and is not supposed to be tried on other devices. TechBii will not be held responsible for the possible outcomes of trying this guide.
Pre-requisites
- Keep a decent battery juice on your On7.
- Backup important files including call logs, messages, media files, and other data files.
- Turn on the USB Debugging option on your Galaxy On7. The option can be found under Developer Settings. If you can’t find such an option, try tapping the Build Number several times under the About Phone section.
- A computer with ADB files and phone drivers installed.
How to Install TWRP on Galaxy On7: Odin Method
- Get Odin from here and install Samsung USB drivers from here. Install both on your computer.
- Download the TWRP image file for Galaxy On7 from here and copy it to your PC.
- Reboot your Galaxy On7 to ‘download mode’. For this, switch off the device and press and hold the Power, Volume Down, and Home buttons together.
- Open installed Odin on your computer and connect the device which is in download mode to the PC.
- The Odin would detect the device (if drivers are properly installed) and display an “added” message.
- Then choose the saved TWRP image file through the AP option with auto-reboot and re-partition options unchecked.
- Click on start and wait till it installs the recovery on the device.
TWRP Installation on Galaxy On7 via ADB Commands
- Install the universal ADB package on your PC.
- Now paste the TWRP file to the ADB folder.
- Open a command window there. (Shift + Right-click on empty space).
- Now execute the following commands in the command window.
adb reboot bootloader
fastboot flash recovery twrp-xxxx.img
fastboot reboot
adb reboot recovery
- Replace the TWRP file name with the actual name in the commands.
- Follow these commands one by one.
- After executing the last command, the device will reboot into TWRP recovery.
How to Root Samsung Galaxy On7 with SuperSU
- Download the SuperSU package from here.
- Copy the file to the root of your internal storage.
- Reboot your device into recovery mode.
- Choose the Install ZIP option and flash the SuperSU file.
- Reboot system.
Now you have successfully installed TWRP custom recovery on your Samsung Galaxy On7 and rooted the same with the help of SuperSU. If you’re having trouble following the above guide, let us know via comments.


