

Want to enable Camera2 API on Mi A1? Here’s the step-by-step guide that explains how you can force-enable the Camera2 API on your Xiaomi Mi A1 without tampering with future OTA updates. I have also covered a tutorial to enable Camera2 API on Redmi Note 3 & Redmi 3S Prime. You can read it here.

Why enable Camera2 API on Mi A1? Well, this particular feature lets you try various camera-related mods on your phone, which brilliantly enhances the image quality. Such mods include Camera HDR+ and the advanced portrait mode. Surprisingly, the Camera2 API feature is ‘included’ in the Mi A1’s chipset. But not ‘enabled’ by default.
So, you have to force enable Camera2 API on Mi A1. Obviously, it requires an unlocked bootloader and root access. This feature is normally enabled by altering a few lines on the build.prop file. However one of the major drawbacks of that method is that it affects future OTA updates.
Once you modify the build.prop file (after unlocking the bootloader & rooting), the device can no longer receive official OTA system updates. But XDA developer flex1911 has discovered an awesome method to enable Camera2 API on Mi A1 without altering any system-level codes. Which means you can receive future updates without any issues.
Practically, you need to unlock the bootloader and root your Mi A1 in order to enable the Camera2 API feature. Thankfully, you can relock the bootloader and unroot it after performing our task. Sounds great, right?
How to Enable Camera2 API on Mi A1
- First of all, root & unlock your bootloader if you haven’t done so already. Don’t worry. You can easily roll back these changes. Here’s the guide for rooting.
- Download and install ADB fastboot drivers on your PC. [Link].
- Enable USB Debugging on your Mi A1. For this, go to Settings >About Phone >Tap 7 times continuously on Build Number. The developer option will be activated. Press the back button and under Developer Settings, enable the USB Debugging feature.
- Now connect your device to the PC. Grant the USB debugging prompt. If it doesn’t detect, re-install the ADB drivers and reconnect.
- Open a command window inside the fastboot folder (shift + right click). Now perform the following command:
adb shell
- Then type the below command to get root access from the device. Tap the prompt when asked.
su
- Finally, enter the following command to enable Camera2 API on Mi A1.
setprop persist.camera.HAL3.enabled 1
Now you have successfully activated the hidden Camera2 API feature on Xiaomi Mi A1. Reboot the phone before locking it again.
How to Unroot & Relock Bootloader of Mi A1 After Enabling Camera2 API
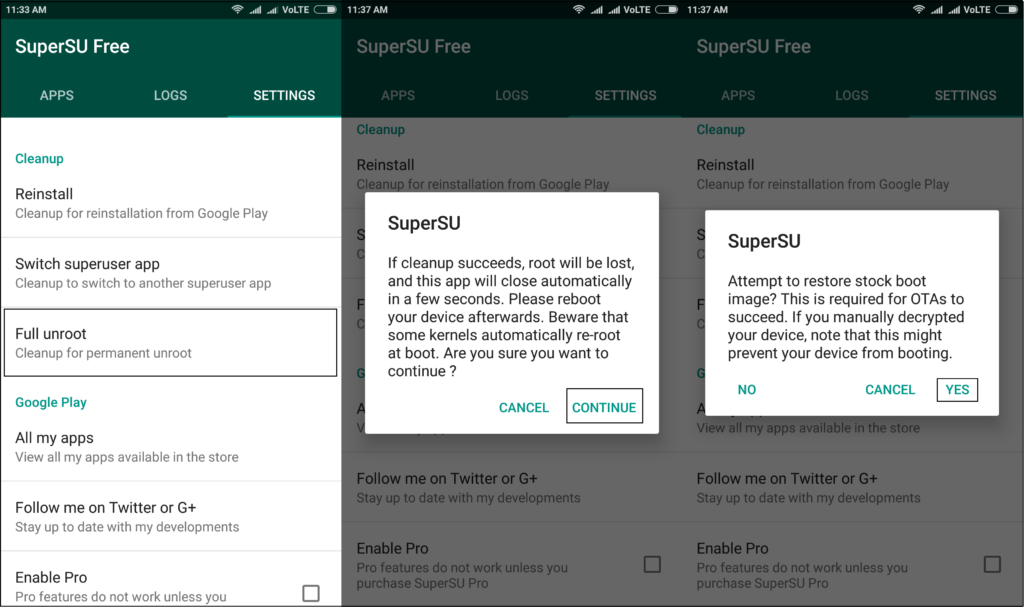
- If you used SuperSU for rooting, simply launch it and choose the ‘full unroot’ option.

adb reboot-bootloader
- After that, type and enter the below command to successfully relock the bootloader of your Mi A1.
fastboot oem lock
- Reboot the system.
Hope you have successfully enabled Camera2 API on your Mi A1 followed by full unroot and bootloader relocking. Having enabled that feature, you can try these mods to supercharge your device. Shoot some amazing pictures!
If you’ve further doubts about how to enable Camera2 API on Mi A1, let us know via the comment section.


