

Many blog owners would like to accept guest submissions at times for various reasons. Some may want to give talented writers in the audience a chance to showcase their skills, some may want to make sure a regular stream of content keeps coming in, and so on. Here’s an easy way to enable front-end guest post submission on WordPress.
There are 2 ways to accept guest posts:
- The old popular way of getting submissions emailed to you.
- Allowing writers to submit their content through the WordPress editor on the front end saves a lot of time.
In this post, we’ll be going through the second method since the first is quite simple and self-explainable.
There are plenty of plugins that provide the functionality we need, you could go with any one of them but for the sake of this tutorial, we’ll be using a plugin called “Frontend Publishing”.
Update: This plugin has been closed as of September 14, 2022, and is not available for download. Reason: Security Issue.
You can either download it from the official WordPress plugin repository or install it from within your dashboard. After you’re done installing it, navigate to the settings page of the plugin.
Configuring the Plugin
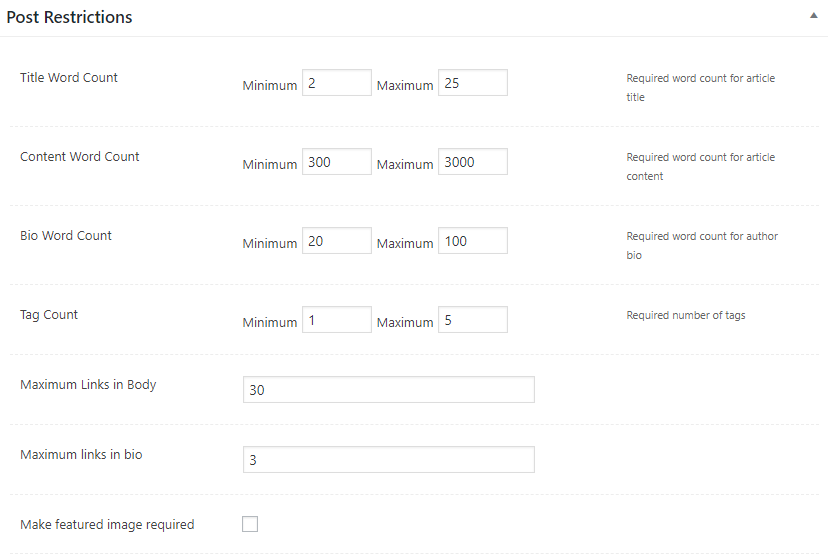
The ‘Post Restrictions’ section will allow you to set specific rules regarding the content you receive such as the word range, controlling the maximum number of links a writer can use, the tags a writer is required to assign to each of their posts, whether or not a featured image is necessary, etc.
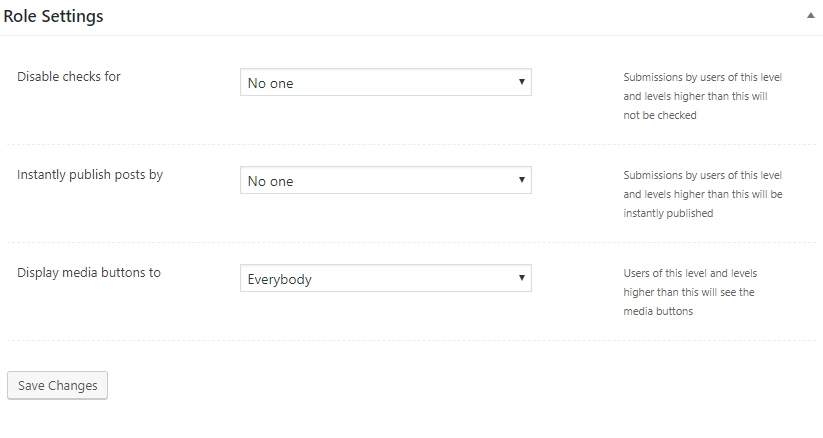
Moving on, the ‘Role Restrictions’ section allows you to specify if you would like to monitor submissions or let them be automatically published. Again, you can set different rules for different user roles. For example, a writer given the role of ‘Author’ on your site may be allowed to directly publish but if a user with the role ‘subscriber’ submits the post, it will be held in the pending section for editorial review.
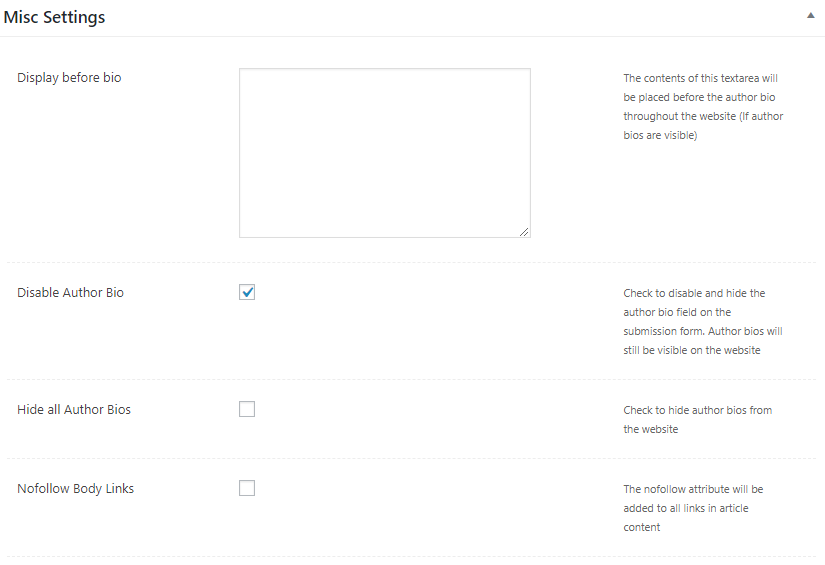
The miscellaneous settings section allows you to keep a check on how the Author bio is displayed on the site, whether it should be displayed at all, if you’d like to give a do-follow link or not, etc.
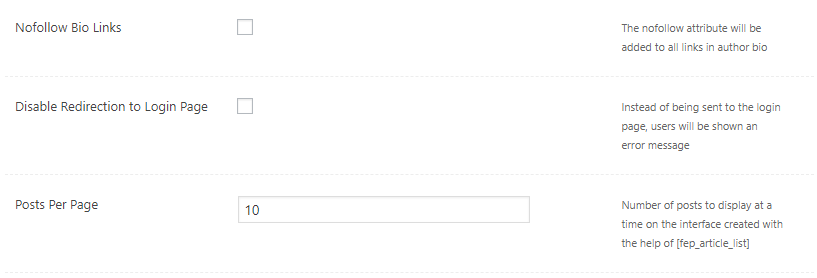
Finally, you also have control over the number of posts that appear on each page. After we’re done with configuring the plugin, we’re ready to paste the shortcode on a given page of our choice. According to the plugin’s documentation,
- Add a page with the following shortcode to create a frontend submission form:
[fep_submission_form]
- Add another page with the following shortcode to create a list of user’s posts:
[fep_article_list]
I would only use the first one as you do not want to be locked with the plugin by choosing the second option. Here’s our final result:
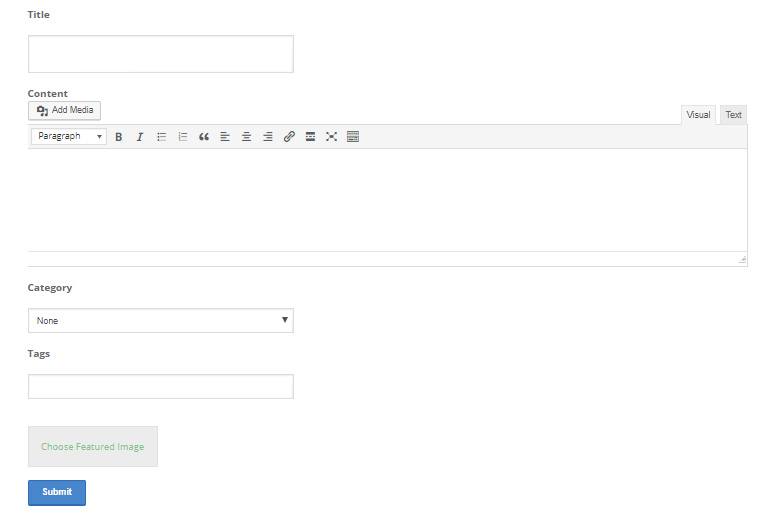
Quite neat, huh? After the user submits a post, they are displayed with a confirmation message.

Meanwhile, on the backend, you – the site administrator – are displayed with the post in the pending section.

That’s all folks, you’re ready to accept posts via the front end now!
About the Author
Sudais Asif – Content Writer at ProPakistani & Level 2 Seller on Fiverr. Reach him at me@sudaisasif.com.

