

You need to email a signed form, submit an ID, or digitize a stack of paperwork — and there’s no scanner in sight. Good news: you already own one. Both iPhones and Android phones have a document scanner built into apps you use every day, and both turn several physical pages into one tidy, auto-cropped PDF without spending a rupee or downloading anything.
- Scan to PDF on iPhone (Notes or Files — both built in)
- Scan to PDF on Android with Google Drive
- On a Samsung Galaxy: the Camera app does it
- How to get clean, readable scans
- After the scan: rename, sign, share
- FAQ
- Where do my scans actually get saved?
- Can I scan multiple pages into one PDF?
- Is it safe to scan IDs and bank documents with a phone?
- Why do my scans look gray and blurry?
- Do I still need a scanner app like the ones in the Play Store?
- The bottom line
Quick answer: on iPhone, open Notes, tap the attachment button and choose Scan Documents — the camera captures, straightens, and stacks pages into one PDF you can share or save to Files. On Android, open Google Drive, tap the camera icon, and scan the same way; Drive saves each batch as a PDF to your account. Samsung phones add a third option: the Camera app detects documents on its own and offers a Scan button. The sections below walk through each method, the settings that make scans look clean, and where your files end up.

Scan to PDF on iPhone (Notes or Files — both built in)
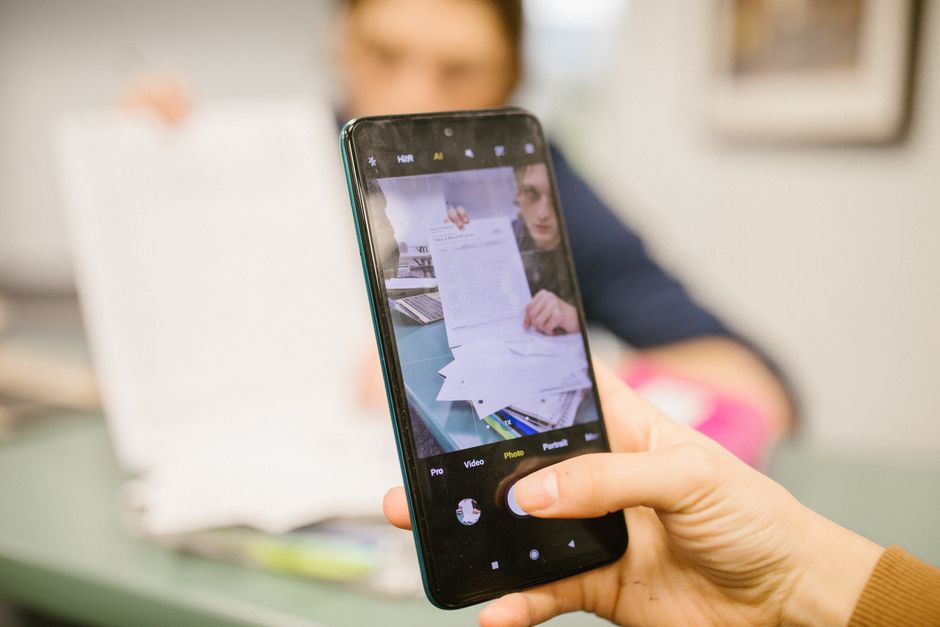
Apple’s scanner lives in Notes, and it produces an actual PDF, not a photo:
- Open Notes and create a new note (or open an existing one).
- Tap the attachment button (the + icon above the keyboard) and choose Scan Documents.
- Hold the phone over the page; the camera finds the paper edges automatically and captures — or tap the shutter button if it doesn’t.
- For multipage documents, turn each page and tap Keep Scan after every page. All pages join into one document.
- Tap Save. The scan drops into your note as a PDF attachment.
To get the PDF out of the note, tap the scan, tap the share button, and send it to Mail, WhatsApp, or Save to Files — where it stays as a standalone PDF you can rename and organize. There’s a second built-in route if you prefer: open the Files app, browse to a folder, tap the ⋯ menu and pick Scan Documents; the pages save straight into that folder as a PDF. Apple’s own scanning guide covers both apps, including signing scans with Markup.
Scan to PDF on Android with Google Drive
On any Android phone, Google Drive doubles as a scanner — and the PDF lands directly in cloud storage, ready to share:
- Open the Drive app and tap the camera icon in the bottom-right corner (it may sit inside the + button on some versions).
- Allow camera access the first time, then line up the page. Drive auto-captures when it detects the document.
- Tap + to scan additional pages into the same batch.
- Give the scan a real name (not “Scanned_2026…”) and tap Save. Drive stores it as a PDF you can share as a link or file.
This is the method Google documents for its own users in the official Drive scanning guide. One habit worth building: rename the file before sharing. Anyone who has received “scan_003.pdf” from you knows why.
On a Samsung Galaxy: the Camera app does it
Galaxy phones add the fastest method of all. Per Samsung’s support guide, open the Camera app and point it at a document — when the viewfinder detects a page, a Scan button appears on screen. Tap it, and the phone automatically removes shadows and straightens the page; tap Save (or Retake if it looks off) and the scan is stored in the Gallery app. If the Scan button never appears, look in Camera settings for the document-scanner / scene-optimiser toggle and switch it on.
The scan starts as an image, so for a true PDF open Samsung Notes, create a note, tap Attach → Image → Gallery, and pick the scan. Notes can export the document as a PDF from there. It’s an extra hop compared to Drive, but the shadow removal is excellent.

How to get clean, readable scans
The built-in scanners do the hard work (edge detection, perspective correction), but a few habits separate crisp scans from gray mush:
- Light matters more than the camera. Scan near a window or under even room light — avoid lamps that cast shadows across half the page.
- Lay the paper flat on a contrasting surface (white paper on a dark table), and fill the frame with the page.
- Wipe the lens. A smudged camera is the number-one cause of foggy scans.
- Use the black-and-white or grayscale filter for text documents — most scanner apps offer it after capture. Text turns sharper and file sizes shrink.
- Check each page before saving and use Retake freely; reordering pages afterward is possible but slower.

After the scan: rename, sign, share
A scan is only useful if the right person gets it, readable and named sensibly. On iPhone, tap a saved scan and use Markup to sign or fill it before sharing. On Android, share the Drive PDF straight from the app — as a file or a link. And if you’re emailing scans to yourself or others, remember attachments count against email quotas; our Gmail storage-full fix guide explains what to do when that 15 GB wall arrives. Digital paperwork still adds up on the device side too — the iPhone storage cleanup guide shows how to keep a full phone from slowing everything down.
And going paperless doesn’t retire the printer entirely — when you do need hard copies again, our guide to finding your HP printer’s WPS PIN gets a new printer onto the Wi-Fi without drama.
FAQ
Where do my scans actually get saved?
Google Drive saves scans as PDFs in your Drive (My Drive root or its Scans area, depending on version). iPhone puts the scan inside the note you created; share it to Files for a standalone PDF. Samsung saves camera scans to Gallery, and Samsung Notes exports them as PDFs.
Can I scan multiple pages into one PDF?
Yes — that’s the default behavior. In Drive, tap + to add pages to the same batch; in iPhone Notes, tap Keep Scan after each page. All pages combine into a single PDF.
Is it safe to scan IDs and bank documents with a phone?
Using the built-in scanner is as safe as photographing the page: the file stays on your device or your own cloud account. Avoid sketchy “free scanner” apps that demand unnecessary permissions, and delete local copies you don’t need after sending.
Why do my scans look gray and blurry?
Almost always lighting or a dirty lens. Scan under even light, wipe the camera, lay the page flat, and apply the black-and-white filter for text. If the page is thin and the print behind shows through, put a sheet of white paper behind it.
Do I still need a scanner app like the ones in the Play Store?
For most people, no — the built-ins handle capture, cropping, multi-page, and PDF export. Dedicated apps earn their space mainly for OCR (searchable text inside the PDF) and heavy batch jobs, and many of those features now sit behind subscriptions anyway.
The bottom line
Your phone has been a scanner for years — the feature just hides inside Notes, Drive, and the Galaxy Camera app. Scan multi-page with Keep Scan or the + button, name files properly, use good light and the B&W filter, and share the PDF straight from the app that made it. Save the paid apps for when you truly need searchable text.